Part 2 of getting our First Deep Learning Build
You can find me on twitter @bhutanisanyam1
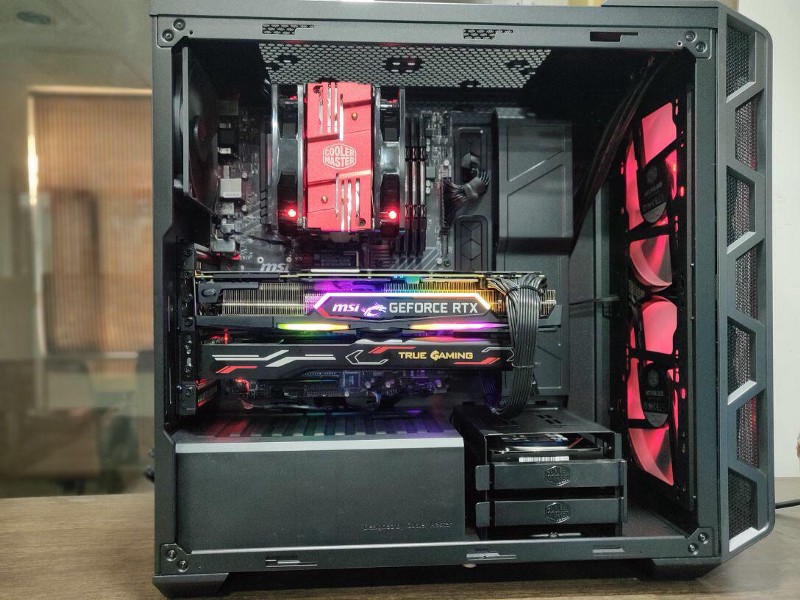
In the previous writeup, I had given a brief walkthrough of the parts that I had picked for “Neutron” and about the reasons for getting it assembled from a third party retailer: “Ant-PC”.
In this blog, I’ll share the step by step instructions that for setting up software on an Nvidia-based “Deep Learning Box”.
Overview:
For storage, I have 2 Drives:
- Samsung 970 Pro NVMe M.2 512GB
- 2TB HDD
My retailer had been kind enough to install windows as per my request on a 500GB partition made on the HDD.
Ubuntu 18.04 Installation
For Neutron, I was going to have Ubuntu 18.04 installed on the M.2 drive with Swap space allocated on it as well, plus the extra space left over after allocating windows in the 2 TB HDD allocated for archiving and storing data sets
Pre-Setup
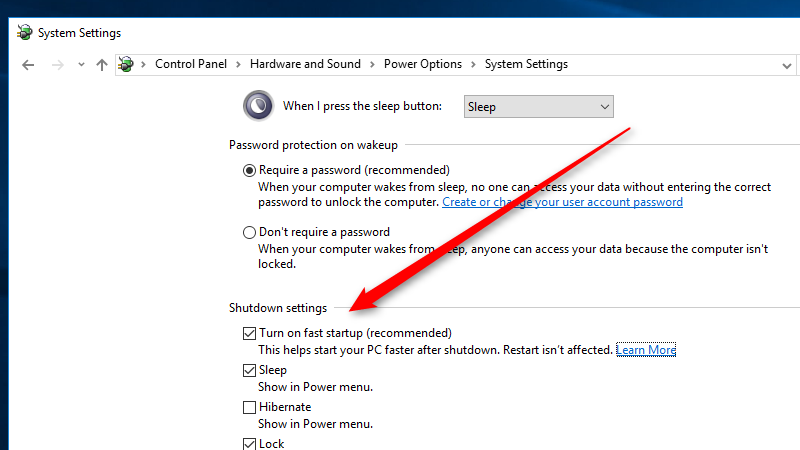
- Disable Fast Startup
(Using Search, Open Power Options) Power Options > System Settings > Choose what the power buttons do and uncheck the Turn on fast startup box.
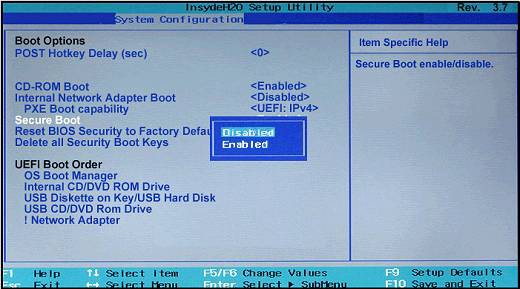
- Disable Secure Boot
- Search Advanced Startup Options
- Click on Restart Now
- Select Troubleshoot>Advanced Options>UEFI Firmware Option Settings>Restart
- Next BIOS Settings will open, this will vary depending on your setup
- Navigate to Boot Tab
- Disable Secure Boot
- You may need to Turn Legacy Support On/Off
Create Installer
- Download the Latest Image of Ubuntu 18.04 from Here.
- You will need a Memory Stick of ≥4GB.
- If you’re using Windows, use This Tool for a quick setup.
- If you have access to an Ubuntu System, use the inbuilt Startup Disk Creator.
- Restart and Enter BIOS and Enable Boot from USB.
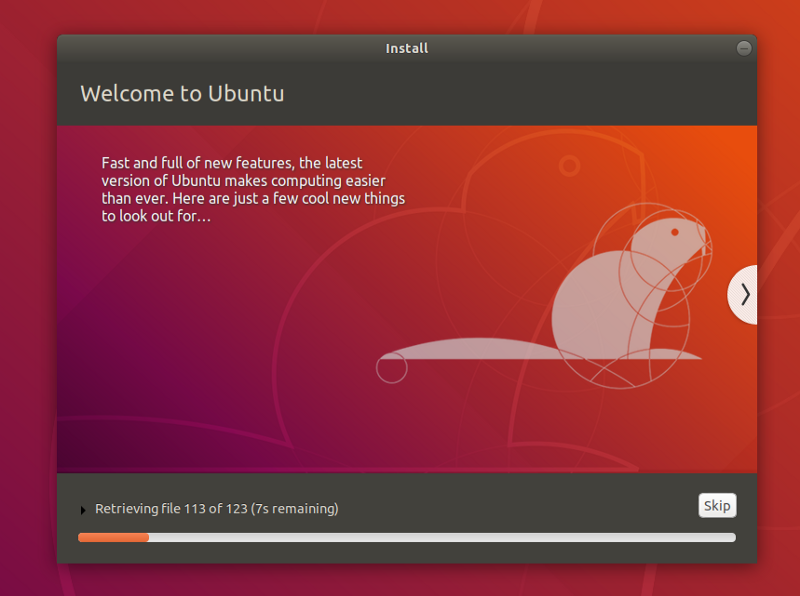
Installing Ubuntu
- You should be able to boot into Ubuntu
- For sanity checks-select “Try Ubuntu without installing”
- Check if your network cards are working okay.
- Check the sound cards for quick relief. - Note: If either of the cards isn’t being detected by Ubuntu, it might have to do with the kernel version-check your device names and see if those are supported. If not, you may need to get an external network/wifi card and an external sound card.
- Select the Language
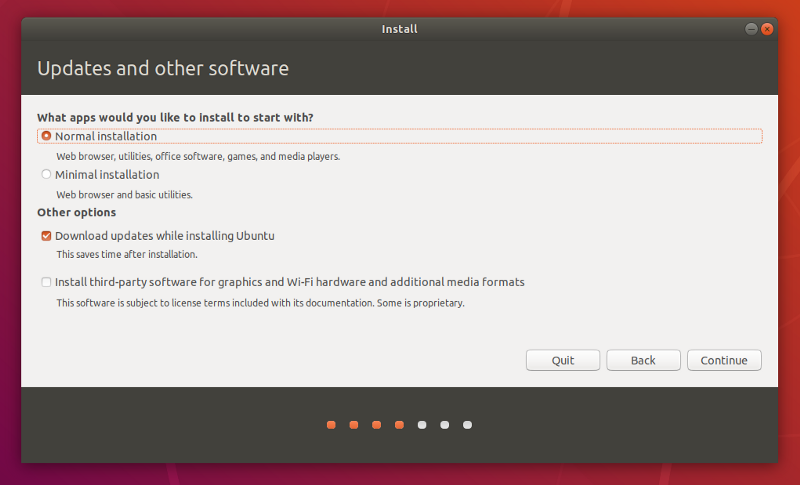
- Ignore the Update while Installing (It slows down the installation if your internet is slow)
- Select Language.
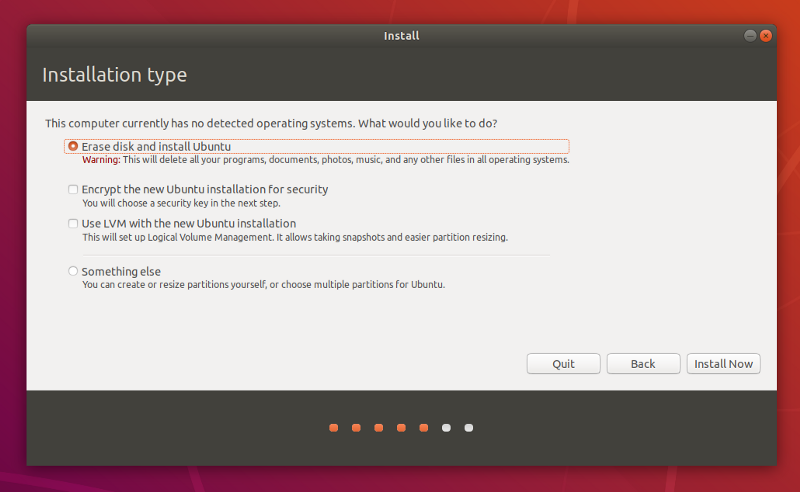
- Select Something Else
- From here, select your drive. I picked the 512 GB M.2
- Click on “+”
Next you need to allocate space to your OS and to SWAP. - Give Most of the space to /
(I prefer allocating one single space to / and /home. Reason: Some Installations, especially CUDA might cross the size allocated to /)
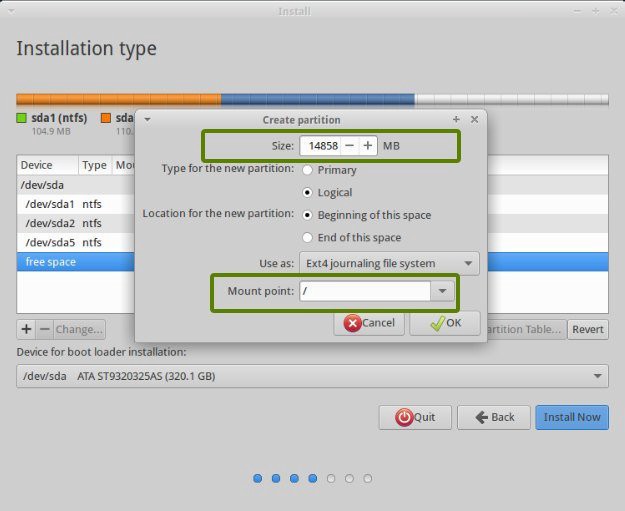
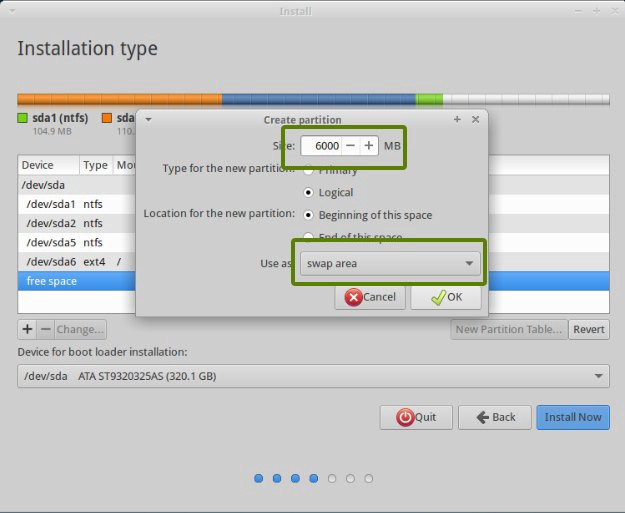
- Give 2x The Space of your RAM to SWAP.
Personally, I have 64GB RAM and have allocated 32GB just to give me extra room to work with Huge Datasets.
- Setup your login credentials
- Finally Click Install
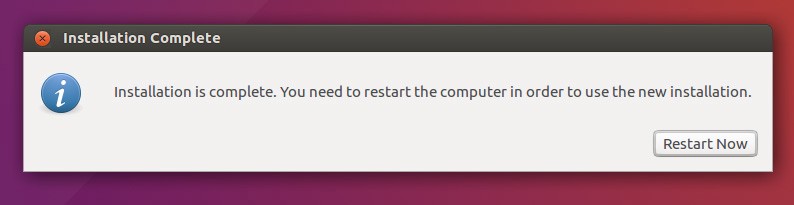
- Finally, Reboot.
That’s it, you’re done.
In the next sub-part, we’ll look at CUDA 10 Installation
CUDA 10 Installation
Quick Note: As per the fastai installation instructions, its recommended:
If you use NVIDIA driver 410+, you most likely want to install the cuda100 pytorch variant, via:conda install -c pytorch pytorch cuda100
Below are the instructions for installing CUDA using the .run file provided by Nvidia. Reason: It may have some issues with Tensorflow since the cuda100 variant is just for PyTorch, I’ll update this post later after testing on that more.
Now, on to the installation:
Update and Upgrade
$ sudo apt-get update
$ sudo apt-get upgrade
Install Nvidia Drivers
- Download the drivers from here.
- Next, give run permissions to the .run file
chmod +x NVIDIA-Linux-x86_64-410.93.run- Reboot and Check if Drivers are installed correctly by running:
nvidia-smi- If you get an output with details of your GPU, everything is set up.
Pitfall:
- In case your Ubuntu gets stuck in a “boot loop”:
- Press Ctrl+Alt+F3 (Note: on 16, its ctrl+alt+f1 to get tty1)
- Purge the drivers
sudo apt-get purge nvidia-*- Reboot
Install Conda
- To install the Latest version of Conda, we’ll use a handy Script by Kaggle Master Mikel
curl https://conda.ml | bashOr if you want to download the installer from Anaconda’s website, that will work as well. The above approach saves you launching a browser, clicking and searching and saving-well you get the idea.
Install CUDA
- Download CUDA from here.
- I’m Setting up CUDA 10.0
- Download the runfile (local)
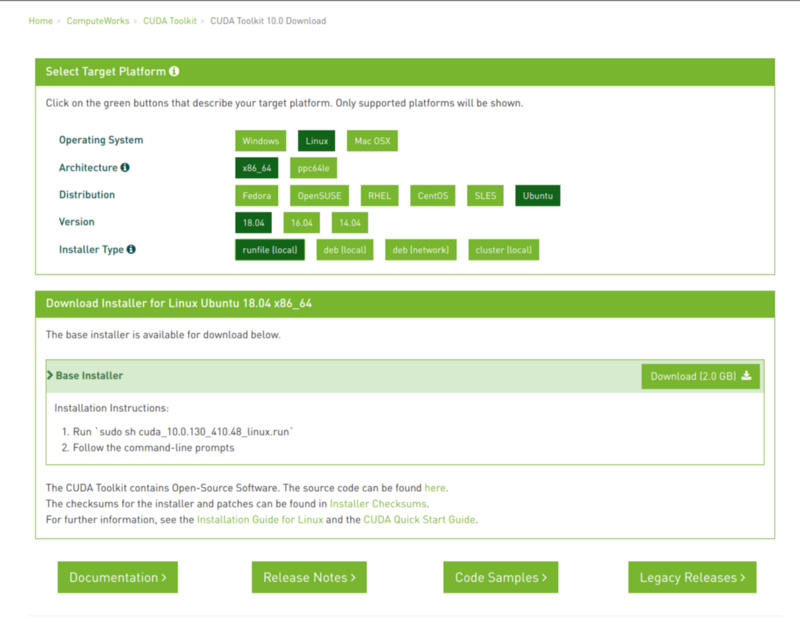
- Open Terminal and Change directory to Downloads.
- Change Executable Permissions for the Installer.
- Run it.
$ cd Downloads
$ chmod +x ./cuda_10.0.130_410.48_linux.run
$ sudo ./cuda_10.0.130_410.48_linux.run- Press Space to Scroll Down and accept the terms and conditions
- Typeyes to the Prompt “Install with an unsupported configuration”
- Type no when prompted “Install NVIDIA Accelerated Graphics Driver for Linux-x86_64 xyz.xyz ”.
- Keep the defaults.
- Reboot
- After Reboot, check CUDA Version
nvcc -VThis should prompt the Installed CUDA Version
- In case of a Boot Loop problem, purge the drivers and try again.
Set Paths
export PATH="/home/User/anaconda3/bin:/usr/local/cuda/bin:$PATH"
export LD_LIBRARY_PATH="/usr/local/cuda/lib64:$LD_LIBRARY_PATH"
source ~/.bashrc
Install Cudnn
- Download the Cudnn version supported by your installed CUDA Version from Here (you will need an Nvidia Account for this)
- Once downloaded, we are going to unpack the archive and move it the contents into the directory where we installed CUDA 10.0:
tar -zxvf cudnn-_.0-linux-x64-v_.tgz
sudo cp -P cuda/lib64/* /usr/local/cuda-10.0/lib64/
sudo cp  cuda/include/* /usr/local/cuda-10.0/include
sudo chmod a+r /usr/local/cuda-10.0/include/cudnn.h
Finally, Since I’m a fan of FastAI-To end things, we’ll setup a conda env for fastai
Setup FastAI
- Create a conda env
$ conda create -n fastai
$ conda activate fastai- Sharing the instructions from the official repo.
$ conda install -c pytorch -c fastai fastai- Follow some further instructions for performance gains
$ conda uninstall --force jpeg libtiff -y
$ conda install -c conda-forge libjpeg-turbo
$ CC="cc -mavx2" pip install --no-cache-dir -U --force-reinstall --no-binary :all: --compile pillow-simd
Setup (Other/Any) Environment
- Pip install or conda install using the requirements.txt or req.yml files.
pip install -r <Link>Quick Test
- Checking if CUDA devices are accessible inside a Library.
- PyTorch has a function to Check CUDA device(s)
torch.cuda.is_available()This should return a True.
Quick Test
To Warm up our GPU, we can try the sample script from the docs:
path = untar_data(URLs.MNIST_SAMPLE)
data = ImageDataBunch.from_folder(path)
learn = create_cnn(data, models.resnet18, metrics=accuracy)
learn.fit(1)
Just run these few lines of code in an nb.
On my GPU-this takes about 2 seconds to run.
That’s it. You’re done!
You can find me on twitter @bhutanisanyam1
Subscribe to my Newsletter for updates on my new posts and interviews with My Machine Learning heroes and Chai Time Data Science